Western red cedar has a reputation as an easy wood to work, and for sawing and planing that is largely fair. Under a router bit, though, it can behave like a soft, fibrous sponge: the cutter grabs, the edge fuzzes, and a clean profile turns into a torn, burnished mess. The fix is rarely a single trick. It is a combination of cutter geometry, sensible speed, correct feed direction, and passes shallow enough to let the bit slice rather than smash.
What makes cedar different at the router table
Cedar is light, soft, and resinous. Its earlywood is much softer than its latewood, so a cutter can crush the spring growth while the harder bands resist. That contrast is what produces the fuzzy, torn grain that appears after an otherwise normal pass. Knots are harder still, and they can deflect a small bit or slow the feed just enough to cause burning.
Sharpness matters more here than in oak or ash. A bit that leaves a clean edge in hardwood can still bruise cedar, especially if it has lost its keen edge or has resin baked onto the flutes. Clean the bit before you start, and keep a spare sharp cutter for the final pass. If the bit is dull, no amount of speed adjustment will rescue the finish.
Choosing the right router bit
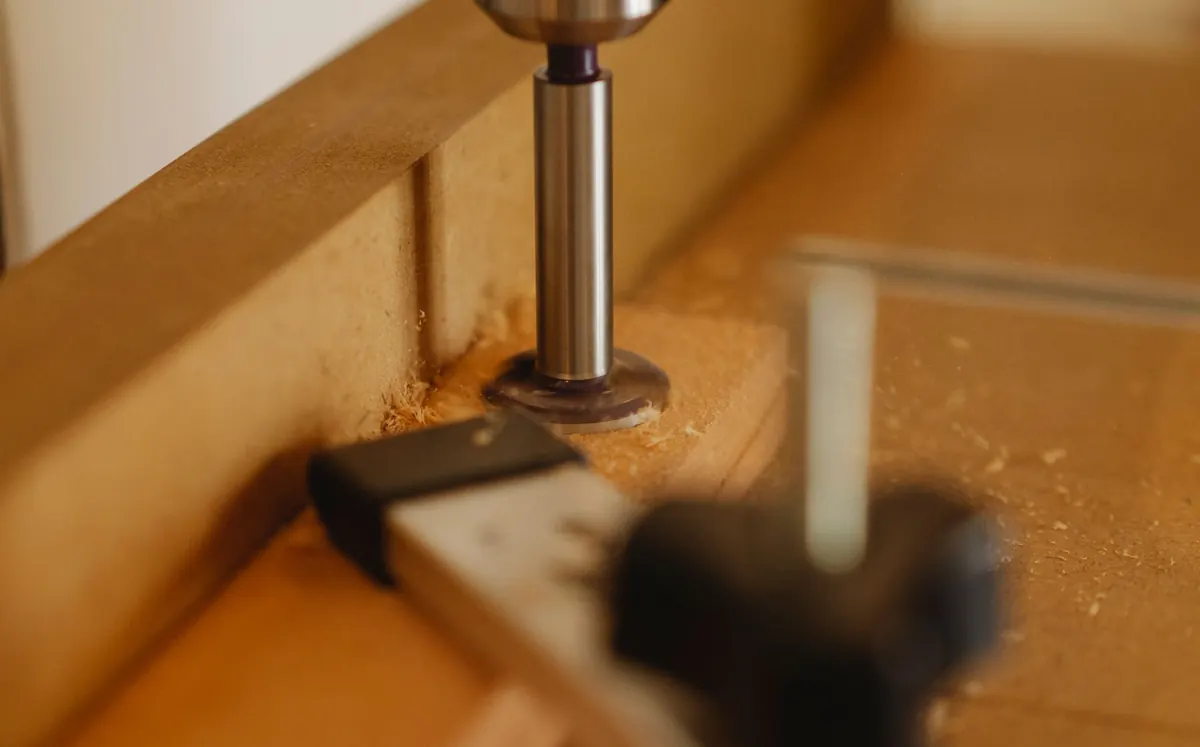
For edge work in cedar, solid carbide is the sensible choice. High-speed steel can work, but it dulls quickly in resinous softwood. Bearing-guided bits are easier to control along curves and straight edges, and a bearing that matches the profile keeps the cut consistent.
Bit styles and what they do
- Downcut spiral: pushes fibres down as it cuts, so the top face stays cleaner. Chips can pack in the groove, so take shallow passes and use good extraction.
- Upcut spiral: clears chips well, but it can lift the top edge. Useful when the underside matters more, or when you need fast chip evacuation in a deep cut.
- Compression spiral: downcut at the top and upcut at the bottom. Excellent on veneered panels and double-sided work, and very clean on solid cedar if the budget allows.
- Straight flutes: fine for grooves and mortises, but more likely to tear an exposed edge than a spiral.
- Shear-angle profile bits: roundovers, chamfers, and ogees with a slicing angle leave a smoother surface than a blunt, straight cutter.
Use the largest shank your router accepts. A half-inch or 12 mm shank is more stable than a quarter-inch or 6 mm shank, especially with larger diameter profiles. You will feel the difference in cedar, where the wood offers little resistance to chatter.
Router speed and feed rate
There is no single correct speed for cedar. Start with the cutter manufacturer's recommendation for the bit diameter. As a rule, large-diameter bits run slower, small bits run faster. A big panel-raising or ogee bit at full speed is asking for trouble; a small roundover can run near the top of your router's range.
Feed rate matters just as much. Cedar likes a steady, moderate feed. Too slow and the cutter rubs, burnishes, and packs resin; too fast and the bit grabs, leaving torn grain and a ragged edge. Listen to the cut. A healthy pass sounds even and consistent. The chips should be small and warm, not fine dust and not thick chunks. If you see burn marks, increase the feed or reduce the rpm slightly. If the edge tears, reduce the depth of cut, check the bit, and make sure the workpiece is supported.
Feed direction: the non-negotiable part
Router bits rotate clockwise viewed from above. On a router table, feed the workpiece from right to left, against the rotation. With a handheld router along an outside edge, move the tool from left to right. That way the cutter bites into the wood and pushes it against the fence or guide. If the router or the work grabs and pulls, you are feeding with the rotation, which is a climb cut. Climb cutting can produce a fine finish on some woods, but in soft cedar it is risky: the bit can snatch the work, over-cut a corner, or pull your hand into the cutter. Avoid it on large profiles. If you need to clean a fuzzy corner, take a whisper-thin pass with a firm grip, or use a file and sanding block instead.
Tear-out prevention: setup and technique
Most tear-out happens when the cutter exits the wood or when it meets unsupported fibres. You can prevent a great deal of it before the router is switched on.
- Use a backer board: clamp a sacrificial piece tightly behind the exit edge. The cutter then tears the backer, not your workpiece.
- Fit a zero-clearance fence: a thin plywood or MDF facing on the router table fence supports fibres right up to the cutter.
- Score the line: for cross-grain cuts and end grain, run a sharp knife along the cut line to sever the surface fibres before routing.
- Take shallow passes: for deep profiles, remove a few millimetres at a time. A final pass at full depth with a sharp bit often leaves a cleaner surface than many tiny increments.
- Support the work: use featherboards, clamps, and push blocks. Cedar dents easily, so pad your clamps where necessary.
- Extract the dust: cedar dust is light and can irritate skin and airways. Wear eye and ear protection, and extract at the source.
A safe pass sequence for a routed edge
- Choose a sharp, appropriate bit and fit it securely in the collet.
- Set the router speed for the bit diameter.
- Set a light first depth. For a 12 mm roundover in cedar, two passes are usually enough: one at half depth, one at full depth.
- Set the fence, bearing, or guide, and add a backer board at the exit.
- Test on an offcut of the same cedar, with the same grain direction. Adjust before touching the real workpiece.
- Start the router, let it reach full speed, then feed steadily in the correct direction.
- Keep the workpiece moving. Pausing in the cut is what causes burns and tear-out.
- Repeat with a second pass if needed, then inspect the edge under good light.
- Sand lightly with 180–220 grit if required, using a block to avoid rounding the profile.
End grain, knots, and tricky profiles
End grain is where cedar tears most readily. The fibres behave like a bundle of straws, and the cutter can lift them instead of slicing them. Use a backer board, score the line, and take very light passes. A downcut spiral or a sharp shear-angle bit helps. If the profile allows, route from both ends towards the middle to keep the exit at a supported section.
Knots are hard and can deflect a small bit. Reduce the depth of cut, keep the feed steady, and do not force the router through. If a knot starts to smoke or chatter, stop, sharpen, or switch to a smaller cut. For curved work, use a bearing-guided bit and a template that is firmly attached. Double-sided tape and a few pin nails, set well clear of the cutter, will hold a template in place on cedar.
Finishing and aftercare
After routing, a light sanding is usually all that is needed. Cedar's earlywood sands away faster than the latewood, so use a sanding block and avoid over-working the surface. Remove any burn marks with a card scraper or a light pass of fine abrasive, then clean the resin from your bit before putting it away.
Test your chosen finish on an offcut first. Cedar can blotch, and a sealer or a thin first coat will help even out the colour. A crisp routed profile is one of the best details you can add to a cedar project, and it is worth the few minutes of setup to get it right.
A practical checklist
Before every routing session on cedar, run through this: sharp solid-carbide bit, correct speed for the diameter, light first pass, backer board at the exit, fence or bearing tight, steady feed in the right direction, and dust extraction running. Test on an offcut. If the edge is fuzzy, do not push harder. Change one variable at a time—depth, speed, feed, or bit—and cut again. Cedar rewards patience with an edge that looks sanded before you touch it.
Photo: Ono Kosuki / Pexels