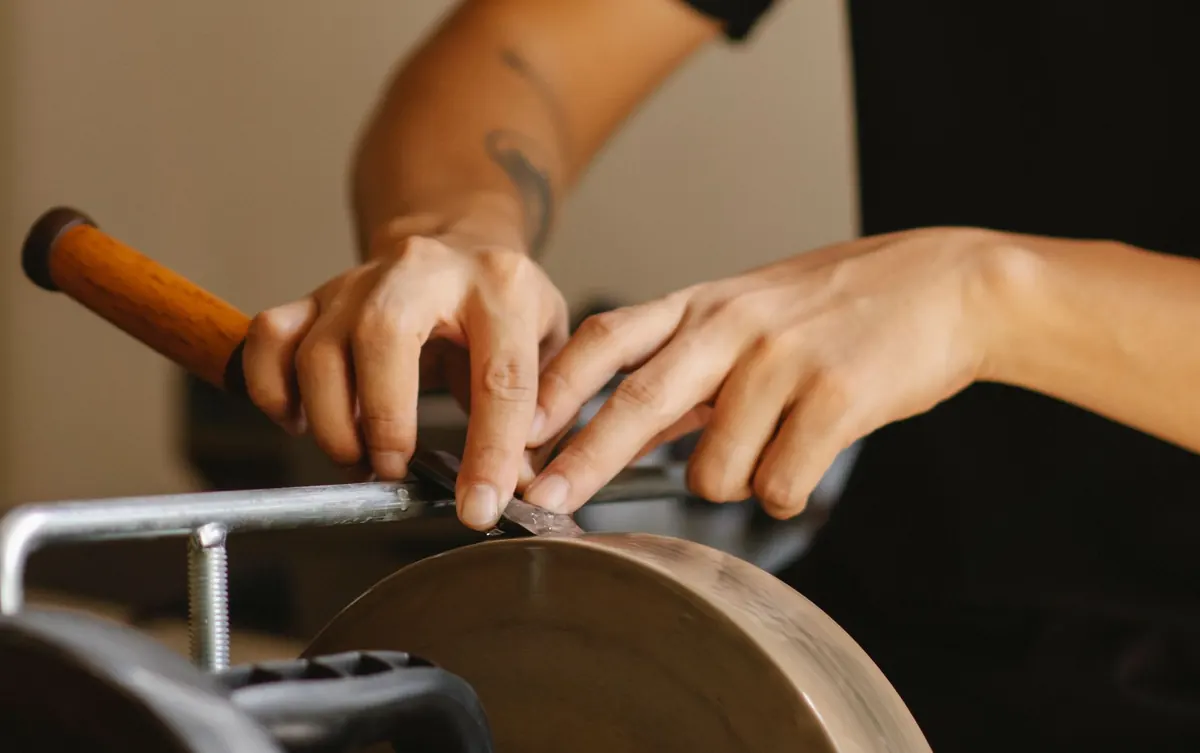
A dull chisel turns a five-minute job into a fight. It crushes end grain instead of slicing it, wanders off the line, and demands more force than the work deserves. Sharpening, though, is a routine rather than a talent. Flatten the back, work the bevel, chase the burr, test the edge. Do it the same way every time and you will be back at the bench in a few minutes with an edge that shaves.
Pick a bevel angle and stay with it
Most bench chisels arrive ground at roughly 25°, and that suits general joinery: paring, chopping light dovetails, tidying tenon shoulders. Mortising oak or working with a mallet asks for more steel behind the edge, so grind closer to 30°. Paring chisels, pushed by hand, run happily at 20°.
The trade-off is straightforward. Low angles cut sweeter and leave a cleaner surface, but the edge folds sooner. Steep angles last longer but feel blunt even when they are sharp. Whatever you choose, keep it consistent. A chisel whose angle changes every session spends its life being re-ground instead of used.
Many woodworkers hone a micro-bevel: the main bevel at 25°, then a narrow 30° strip at the very tip, a fraction of a millimetre wide. It takes seconds to refresh and leaves the bulk of the bevel untouched for years.
Choose your stones
Waterstones cut quickly and leave a refined edge, which is why they dominate fine woodworking. They also wear hollow, so plan for a flattening plate or a sheet of wet-and-dry paper on a flat tile. You do not need a drawer full of grits; three sensible steps will take a chisel from blunt to excellent.
- Coarse, around 220–400: flattening a back, removing a chip, changing a bevel angle. Used rarely.
- Medium, around 1000: the workhorse. Establishes the bevel and removes coarse scratches.
- Fine, 4000–6000: refines the bevel and erases the scratch pattern left by the medium stone.
- Very fine, 8000 and above: polishing. Optional, but the difference on end grain is obvious.
A 1000/6000 combination stone covers most of the work and saves bench space. Check whether yours needs soaking; traditional stones do, while resin-bonded "splash and go" stones only need a spritz. A nagura stone raises a slurry on fine grits and helps them cut.
Set up before you touch the blade
Flatten the stone first. A hollow stone cannot produce a flat bevel, and you will chase your tail trying. Draw a pencil grid on the surface, rub it on a diamond plate or coarse paper, and stop when the grid has gone. Soak the stone, sit it in a holder in a shallow tray of water so it cannot slide, and put a cloth within reach. Good light matters more than people expect: you need to see where the steel is touching.
The routine, step by step
- Flatten the back. Lay the chisel flat on the medium stone, bevel facing up, and work it back and forth along the stone. Ten or fifteen passes is plenty. Do this once properly and you rarely need to repeat it.
- Find the bevel. Rest the chisel on the stone and lift the handle until the bevel sits flat. Rock it gently and you will feel the point where the whole bevel contacts the stone.
- Work the medium stone. Push the chisel away from you with light, even pressure, keeping the bevel flat. Ten to twenty strokes, then check the edge.
- Hone on the fine stone. Repeat the same motion on the 4000–6000 stone. Fewer strokes here; you are refining, not reshaping.
- Polish on the finest stone. A handful of strokes if you have one. The bevel should start to look uniformly bright.
- Remove the burr. See below — this is the step that decides whether the chisel is genuinely sharp.
Honing guide or freehand?
A honing guide holds the blade at a fixed angle and removes the guesswork while you learn. They are inexpensive, repeatable and especially useful for narrow chisels that wobble. Freehand honing is faster once you can feel the bevel sitting flat, but it takes practice and a willingness to be slow at first. Either is fine. Consistency matters far more than which you choose.
Chase the burr, then lose it
Every time you hone the bevel, a fine wire edge — the burr — curls over onto the flat back. Feel for it with a thumb, drawing across the back, never along the edge. It will catch slightly.
Now remove it. Lay the chisel completely flat on the finest stone and give it a couple of light passes, working the length of the stone. Flip back to the bevel for a stroke or two, then back to the flat. Alternate, reducing pressure each time, until the burr disappears. Two or three cycles is usually enough. Pressing hard here is counter-productive: it rolls the edge over and raises a new burr.
Testing for a sharp, burr-free edge
Sight down the edge with a light behind it. A sharp chisel shows no bright line along the tip; a dull one reflects light back at you.
Then try it on wood. Pare the end grain of a piece of pine. A sharp chisel leaves a polished, slightly waxy surface; a dull one crushes the fibres and looks furry. Slicing a sheet of paper held loosely also works, as does shaving a few hairs from your forearm if you want a quick check.
If the chisel cuts for a stroke or two and then stops, there is still a burr, or the angle is too low for the timber. Go back one grit and repeat the cycle.
Make it a habit, not an event
Sharpen little and often. A dozen strokes on the fine stone at the end of a session keeps the edge in good order and means you never face a full re-grind. A leather strop charged with polishing compound will extend that further. Wipe your chisels dry — waterstones and steel are not friends — and store them so the edges are not knocking against anything.
The first few attempts will feel fiddly. By the tenth, the whole routine takes less time than reading this did, and the work coming off your bench will look like it was done by someone with better tools than you own.
Photo: Ono Kosuki / Pexels