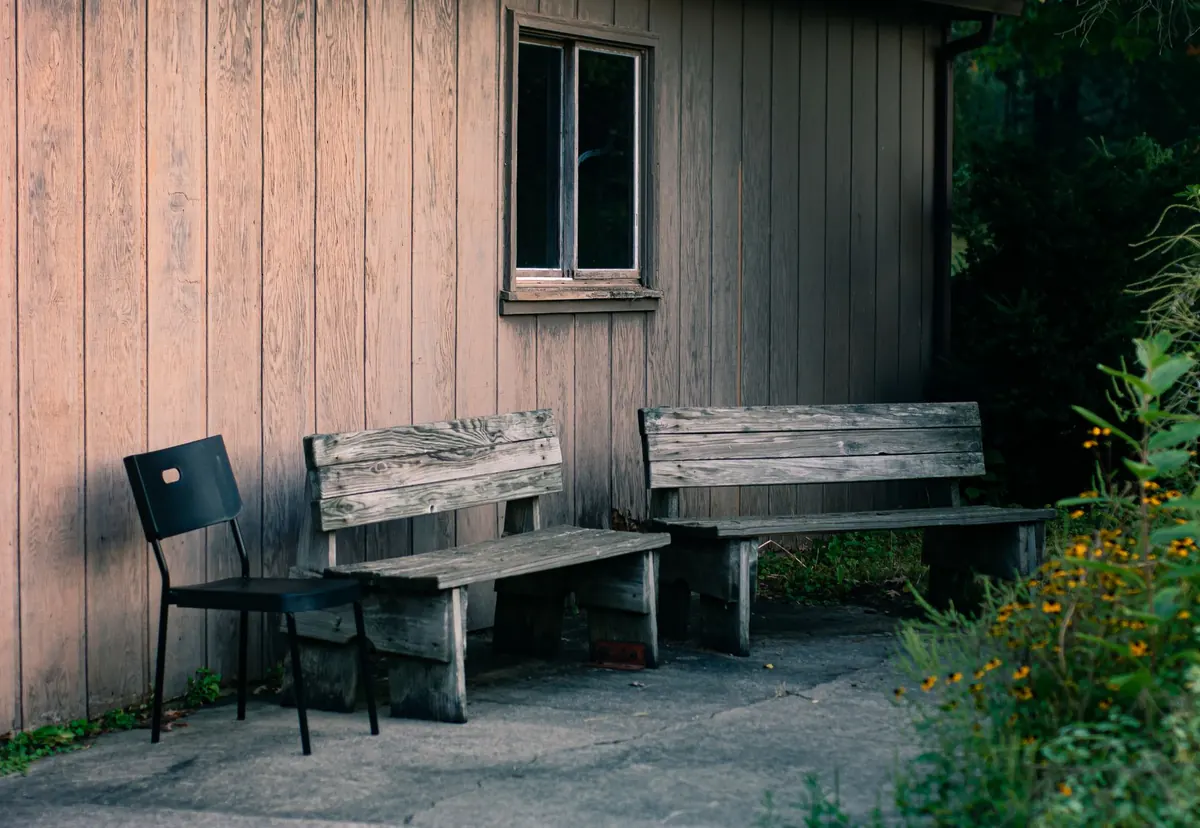
Most garden benches assume you have a lawn the size of a tennis court. This one doesn't. At 1.2 metres long and roughly 40 centimetres deep, it tucks against a wall, sits happily on a balcony, and still seats two adults without a fight over elbow room. You can build it in an afternoon with a drill, a saw, a chisel and a bit of patience.
Western red cedar does most of the hard work. It is naturally resistant to rot, light enough to move on your own, and stable enough that it won't twist itself into a banana the first time it gets rained on. Leave it untreated and it weathers to a soft silver-grey.
Size it for the space you actually have
These dimensions suit a compact patio, a balcony or the narrow passage beside a shed:
- Length: 1200mm — two adults, or one person plus a mug of tea
- Depth: about 400mm including the slat overhang
- Seat height: 450mm to the top of the slats
- Clear space needed in front: 500mm for legs and feet
Measure the route to the garden as well as the space itself. A 1.2-metre bench won't go through a 750mm side gate. On a balcony, keep it freestanding rather than drilling into the wall for a backrest unless you know you're allowed to.
A 900mm version works if you only need one seat — shorten the slats and the two end rails, but leave the legs and stretchers alone. Adding a back is a second-weekend job: two sloping uprights on the rear legs and a pair of slats.
Cut list and materials
All sizes are finished sizes in millimetres. Buy planed all round (PAR) cedar.
- 4 legs: 45 × 45 × 430
- 2 top rails: 45 × 70 × 270 (310 if you cut housings, below)
- 2 lower stretchers: 45 × 45 × 270
- 4 seat slats: 20 × 90 × 1200
Fixings: about 32 screws. Use 5 × 90mm for the frame and 4 × 60mm for the slats, and buy A2 or A4 stainless steel. Cedar contains natural acids that corrode ordinary steel screws, which then bleed black stains through the wood within a season.
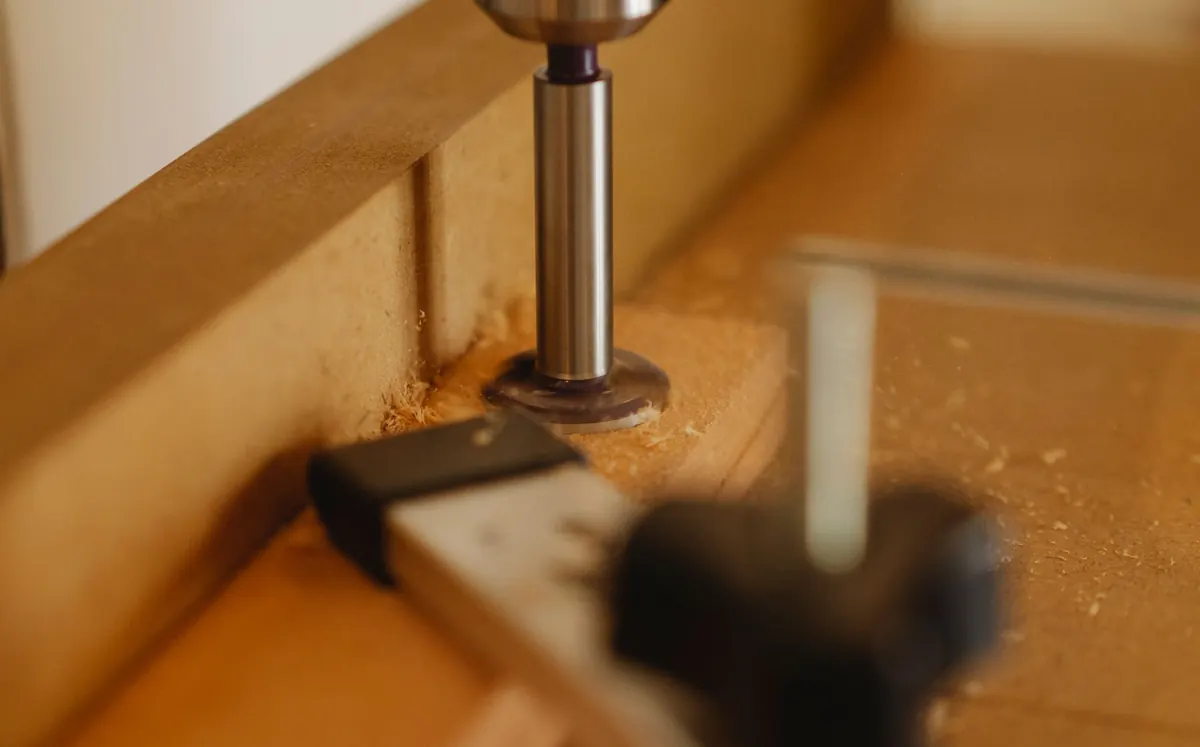
You'll also want exterior-grade polyurethane glue (look for D4 on the bottle), a 3.5mm pilot bit, a countersink, a tenon saw, a 20mm chisel, a combination square, two clamps and 80- and 120-grit abrasive. Cedar dust irritates some people's airways, so wear a mask while you cut and sand.
Joinery that survives British weather
Water kills benches at the joints, not in the middle of the boards. Three details do most of the work.
Keep end grain out of the wet
End grain soaks up water like a bundle of straws. Chamfer the tops of the legs by 10mm on each side so rain runs off instead of sitting in a puddle on the sawn ends. Do it before you assemble anything.
Housings, not hope
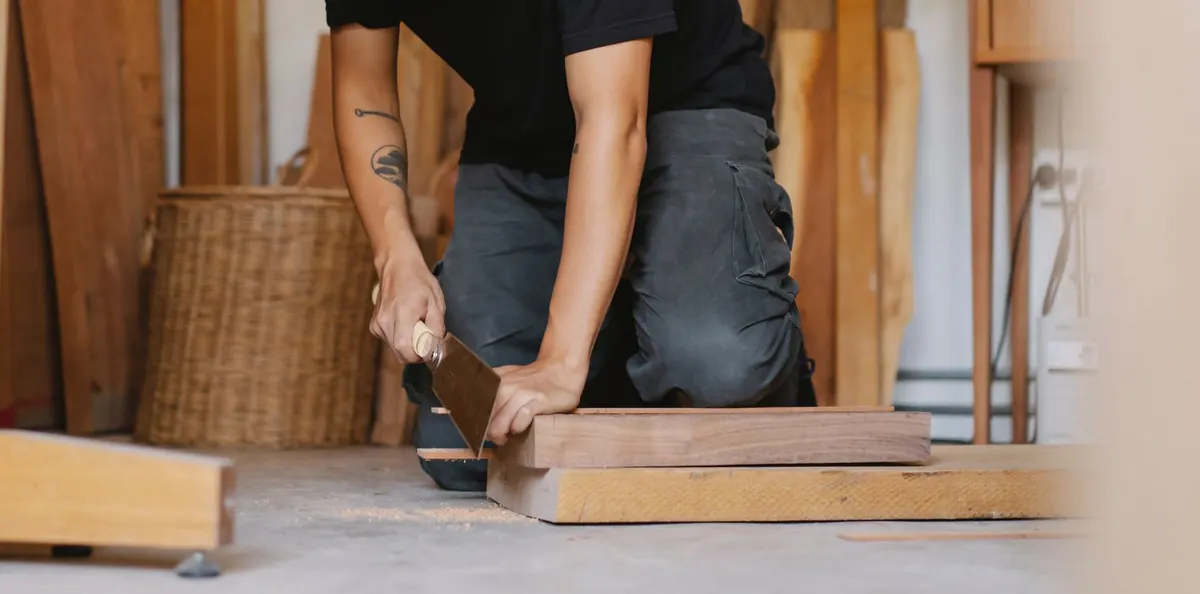
The rails butt into the inside faces of the legs. Glue and screws will hold, because a bench seat is loaded in compression, but a shallow housing is better. Set a marking gauge 20mm in from the inner face of each leg and cut a 70mm-deep housing across it: saw down both shoulders, then chop out the waste. The rail sits in the groove, glued and screwed from the outside. It stops the rail twisting and keeps water out of the joint.
Stainless steel, pre-drilled holes, drainage gaps
Pre-drill every hole. Cedar is soft and splits easily, especially near an edge. Leave a 12mm gap between the seat slats so water runs straight through rather than pooling under you, and so the wood can move as it takes on and gives up moisture through the year.
Step-by-step build
- Cut everything to length and label each piece on the underside in pencil.
- Chamfer the tops of the four legs and sand the ends.
- Build the first end frame. Lay the two legs flat with their outer faces 360mm apart, the top rail between them with its top edge flush with the leg tops, and the stretcher 120mm up from the bottom.
- Glue and screw through the outside of each leg into the rail and stretcher — two 5 × 90mm screws per joint. Wipe the squeeze-out off while it's still soft.
- Check the frame is square by measuring both diagonals. They should match to within a millimetre. Adjust now, before the glue grabs.
- Repeat for the second frame, then stand the two frames upright with their outer faces 1200mm apart.
- Lay the four slats across, starting at the back. Use a 12mm spacer between each one; two offcuts of 12mm ply do the job. Fix each slat with two 4 × 60mm screws at each end, driven down into the top rail.
- Sand everything, then run a block along every edge to take the sharpness off — especially the front edge of the seat, which catches the back of your knees. Lift the finished bench onto rubber or stainless glides so the legs aren't sitting in a puddle on the paving.
Finishing cedar for outdoors
You have two sensible options. Leave it bare and let it silver down, which needs nothing but an occasional scrub. Or treat it with an exterior oil containing a UV filter, which holds the warm reddish-brown colour for longer.
Don't reach for varnish. Film-forming finishes crack within a couple of seasons, water gets behind them, and you're left with a patchy mess that is miserable to strip. Oil soaks in and can be topped up without going back to bare wood. If you oil, flood the end grain and the insides of the joints as well as the faces you can see.
Looking after it year to year
Once a year, in spring, go over the bench with a stiff brush and warm soapy water, then check the screws. Tighten any that have worked loose. Re-oil every year or two if you've gone that route, and don't let it sit on wet grass all winter.
Cedar is durable but it isn't magic — it dents, and it still marks if you leave a pot of compost sitting on it for a year. Look after it and this bench will outlast several sets of cushions.
Photo: Steve A Johnson / Pexels